
Web Design and MarketingSunday, August 02 2015
 It's important that images are sized correctly before they are uploaded to your website. There are two aspects of an image to be concerned with.
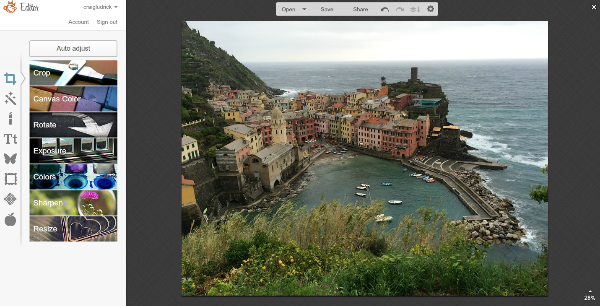
The dimensions are 3264 pixels x 2448 pixels. To give you an idea how big that is, the dimensions of cover photos on Facebook is 851px x 315px. Our sample image is almost 4 times the width of a Facebook cover image. Usually once we take care of the dimensions, the width and height of an image, that will take care of the file size as well. I normally use PhotoShop to resize images. I'm assuming that if you have PhotoShop you already know how to resize images. So for this demonstration, I'm going to use PicMonkey a free online tool to show you how to resize images for your website or blog. The basic editing features are free with PicMonkey. You can upgrade and get access to all of the PicMonkey tools. If you're going to be working with images and you don't have PhotoShop, I recommend you get the paid version. I have PhotoShop and I still use PicMonkey quite a bit because it's so quick and easy to use. 4 Easy Steps to Resize Your Image for the InternetStep 1: Go to PicMonkey, click on the Edit icon at the top, then click on Computer under the Edit icon. Then choose the file that you want to resize.
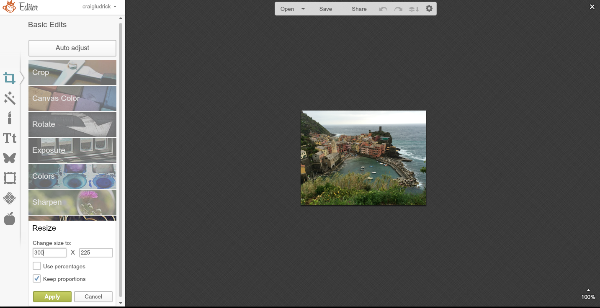
Step 2: Notice in the bottom right corner that the image is displayed at 28% of it's size. It's so large it can't fit on the screen.
Step 3: Enter in your new pixel dimensions. If your not sure, see my note below to help you get an idea.
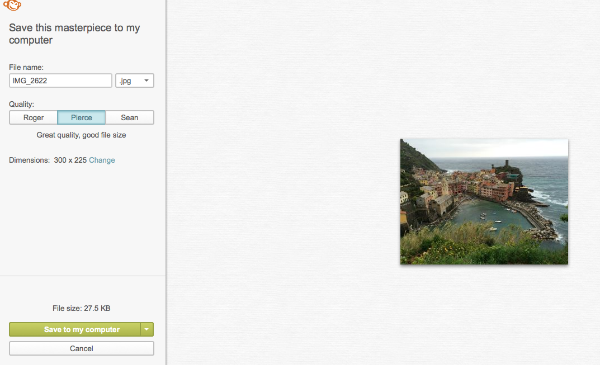
Step 4: In the first box, you can rename your file and select file type. I recommend you save it as a jpg.
What if I'm not sure what pixel size my image needs to be?If you're new to working with pixels here are 2 ways to find out the dimensions of an image on a website. By looking at the size of images already on a website you'll get an idea for what size your image needs to be.
Comments:
|
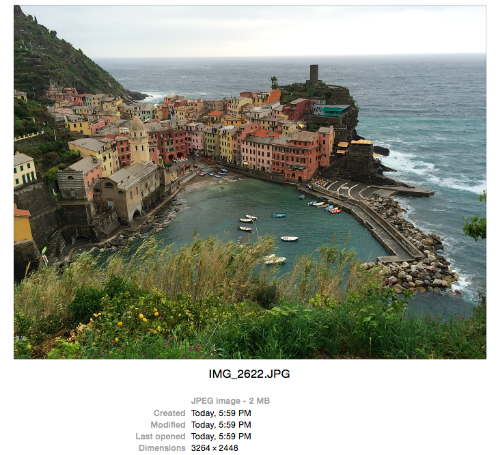 For an example image I'm going to use this photo I took on a recent trip. You'll notice the file is 2MB. I try to keep images around 50KB on my website depending on what I'm using the image for. So, you can see that 2MB is way too large.

About Me
Web Design
Online Marketing
My "sweet spot" is helping small businesses and non-profits communicate their message in a way that gets results.
Craig Ludrick
Email
Latest Posts
Archive
Categories